Pages
 Softwearables Identi.Ca
Archives
- April 2016
- November 2015
- September 2015
- May 2015
- January 2015
- November 2014
- August 2014
- June 2014
- May 2014
- February 2014
- June 2013
- March 2013
- February 2013
- November 2012
- June 2012
- May 2012
- November 2011
- October 2011
- August 2011
- July 2011
- May 2011
- April 2011
- March 2011
- February 2011
- January 2011
- November 2010
- October 2010
- August 2010
- July 2010
- May 2010
- April 2010
- February 2010
- December 2009
- October 2009
- September 2009
- August 2009
- March 2009
- February 2009
- January 2009
 Ellentriek Feed
- Open Hardware / Libre SoftwearOn the first of October 2013, from 9 to 16h, we organise a workshop in ARTS², Carré des Arts Rue des Sœurs Noires 4a 7000 Mons. Description of the Workshop: A workshop mixing textile design with digital culture and tools (Floss in soft-and hardware). We will use a hacked knitting machine (Knitic). When you connect […]
- Ellentriek #17: Hack your knitting machine with Knitic!Ellentriek goes textile: liberating knitting machines Saturday 18th May 2013 10am – 6pm Pianofabriek Exhibition space Rue du Fortstraat 35, 1060 Brussels In the eighties and nineties electronic knitting machines were readily available. But it was never a simple task to knit an image, a drawing, photograph, text you designed yourself with it. You could […]
- MakeyMakey – versionsMakey Makey is a nice and fun Open Hardware project, developed by Mit researchers Jay Silver and Eric Rosenbaum. It’s an Arduino based project that could get started through crowdfunding. Basically you can turn any conductive surface into a sensor: bananas and other fruit/vegetables, cutlery, water, metal tools, conductive dough, human skin…When you connect to […]
- Ellentriek Recup@RecyclartYour copy machine, scanner or mobile phone has broken down and even the second hand shop is no longer interested in getting it fixed for sale. No worry, you can still find interesting bits and parts such as motors, lenses, microphones or amplifiers hidden within. In this workshop you will learn to dismantle broken electronic […]
- Open Hardware / Libre Softwear
Software & Open Hardware – reprogramming MakeyMakey on Linux
Often in Open Hardware projects you have a direct link with software. Depending on the project, the connected software is more or less multiplatform. The more “public friendly’ your open hardware project, apparently the harder it becomes to get support for Linux. Or your project is so specific, it runs only on particular systems, under specific conditions.
I have run into the barrier of obscure/non-existing Linux support a couple of times recently (Adafruit Flora for example – an Arduino based eTextile microcontroller).
Does being a Linux user imply a certain tech savviness? (is this a rhetorical question?)
Same goes for Makey Makey, an relatively easy to use microcontroller.
That’s where little treasures of shared knowledge pop up in blogs and fora.
If you want to re-programme a MakeyMakey: here’s a nice combination of a forum, a manual and a blogpost.
Perhaps, wandering about on the www via search engines, someone can find this post, to then find…
Posted in About a website, Hack, Hardware, Open Hardware, Software
Tagged open hardware
Leave a comment
Public Domain Review new website
* microblog*
Public Domain review has a new website full of treasures..
Founded in 2011, The Public Domain Review is an online journal and not-for-profit project dedicated to promoting and celebrating the public domain in all its richness and variety.
All works eventually fall out of copyright – from classics works of art to absentminded doodles – and in doing so they enter the public domain, a vast commons of material that everyone is free to enjoy, share and build upon without restriction. Our aim is to help our readers explore this rich terrain – like a small exhibition gallery at the entrance to an immense network of archives and storage rooms that lie beyond.With a focus on the surprising, the strange, and the beautiful, we hope to provide an ever-growing cabinet of curiosities for the digital age, a kind of hyperlinked Wunderkammer – an archive of materials which truly celebrates the breadth and variety of our shared cultural commons and the minds that have made it.
RGB Colour LCD Screen
How to make a narrative on an LCD screen:
-> the colours have to change
-> you have two times 16 characters
-> every time you print a text on the screen, it has to be reset to it’s initial position
Here’s a video of the first narrative I made for the “Big Fat Failed Beginnings” performance for the Belluard Bollwerk Festival.
My code for the Arduino & the screen worked, but it was not very elegant, so I asked for some help on the Belgian hackerspaces “universal knowledge list”. I added some functions.
Thanks everyone!
#include
// Create a software serial port!
SoftwareSerial lcd = SoftwareSerial(0,2);// Create a function to easily determine colour
// To determine colour, use: setColour(&lcd, 1, 1, 255)
void setColour(SoftwareSerial* lcd, char r, char g, char b) {
lcd->write(0xFE);
lcd->write(0xD0);
lcd->write(r);
lcd->write(g);
lcd->write(b);
delay(10);
}// Elegantly clear screen
// Use setClear
void setClear(){
lcd.write(0xFE);
lcd.write(0x58);
delay(10);
}// go ‘home’
// Use setHome
void setHome(){
lcd.write(0xFE);
lcd.write(0x48);
delay(10);
}void setup() {
lcd.begin(9600);// set the size of the display if it isn’t 16×2 (you only have to do this once)
lcd.write(0xFE);
lcd.write(0xD1);
lcd.write(16); // 16 columns
lcd.write(2); // 2 rows
delay(10);
// we suggest putting delays after each command to make sure the data
// is sent and the LCD is updated.// set the contrast, 200 is a good place to start, adjust as desired
lcd.write(0xFE);
lcd.write(0x50);
lcd.write(200);
delay(10);// set the brightness – we’ll max it (255 is max brightness)
lcd.write(0xFE);
lcd.write(0x99);
lcd.write(255);
delay(10);// turn off cursors
lcd.write(0xFE);
lcd.write(0x4B);
lcd.write(0xFE);
lcd.write(0x54);// clear screen
setClear();// go ‘home’
setHome();}
void loop() {
// adjust colors and define RGB values
// Colour as neutral as possible
setColour(&lcd, 255, 220, 200);lcd.println(“When does an”); //println gives new line for the next sentence
lcd.print(“incident “);
delay(3000);
setClear();
setHome();lcd.println(“become”); //println gives new line for the next sentence
lcd.print(“a disaster?”);
delay(3000);
setClear();
setHome();lcd.println(“It’s a question”); //println gives new line for the next sentence
lcd.print(” of scale.”);
delay(3000);
setClear();
setHome();lcd.println(“**INCIDENT”); //println gives new line for the next sentence
lcd.print(” OCCURS**”);
delay(3000);
setClear();
setHome();// adjust colors and define RGB values
// Colour Blue
setColour(&lcd, 1, 1, 255);
lcd.println(“The BLUE LIGHTS”); //println gives new line for the next sentence
lcd.print(” come in.”);//Text written in colour
delay(3000);
setClear();
setHome();lcd.print(“Police-Ambulance”); //println gives new line for the next sentence
lcd.print(” Firebrigade”);//Text written in colour
delay(3000);
setClear();
setHome();lcd.println(“They judge, act”); //println gives new line for the next sentence
lcd.print(” communicate”);
delay(3000);
setClear();
setHome();lcd.println(“When they need”); //println gives new line for the next sentence
lcd.print(“extra force”);
delay(3000);
setClear();
setHome();// adjust colors and define RGB values
// Colour orangesetColour(&lcd, 255, 20, 1);
lcd.println(“CODE ORANGE”); //println gives new line for the next sentence
lcd.print(” is activated”);
delay(3000);
setClear();
setHome();lcd.print(“Civil Protection”); //println gives new line for the next sentence
lcd.print(” “);
delay(3000);
setClear();
setHome();lcd.println(“and Technical”); //println gives new line for the next sentence
lcd.print(“Services”);
delay(3000);
setClear();
setHome();lcd.println(“join the”); //println gives new line for the next sentence
lcd.print(“Blue Lights”);
delay(3500);
setClear();
setHome();lcd.println(“In case of a “); //println gives new line for the next sentence
lcd.print(“MAJOR DISTASTER”);
delay(3500);
setClear();
setHome();// adjust colors and define RGB values
// Colour REDsetColour(&lcd, 255, 1, 1);
lcd.println(” CODE RED”); //println gives new line for the next sentence
lcd.print(” is triggered”);
delay(3500);
setClear();
setHome();lcd.println(“If necessary”); //println gives new line for the next sentence
lcd.print(“the army comes”);
delay(3500);
setClear();
setHome();lcd.println(“For every”); //println gives new line for the next sentence
lcd.print(“catastrophy,”);
delay(3500);
setClear();
setHome();lcd.println(“plans have been”); //println gives new line for the next sentence
lcd.print(“made..”);
delay(4000);
setClear();
setHome();lcd.println(” “); //println gives new line for the next sentence
lcd.print(” “);
delay(3000);
setClear();
setHome();}
Posted in Hardware, Open Hardware, Software
Tagged Arduino, Belluard, Domestic Science Club, LCD
Leave a comment
Raspberry Pi and touch
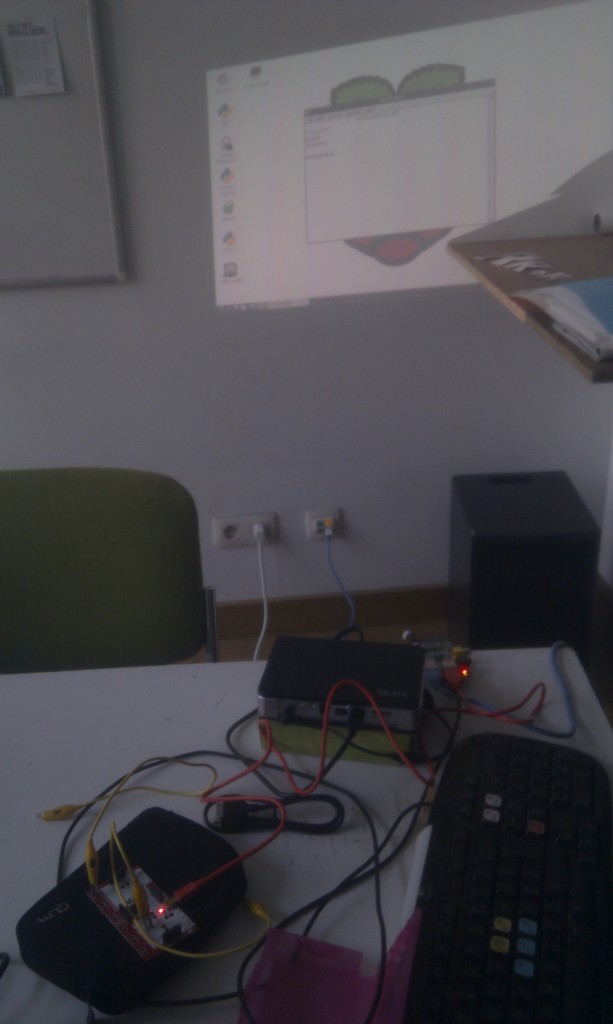
Not the greatest picture —> today I tried to combine the Rapsberry Pi with Makey Makey (basically a microcontroller that enables you to turn almost all conductive material into Keyboard input: left click, arrows or space).
It works out of the box with the Raspberry Pi default Linux distribution called Rasbian.
This opens up quite some possiblities: a tiny computer with a microcontroller –> with ethernet and a sound card —->
….
(fill in blanks with potential)
A paper, vinyl and fabric cutter
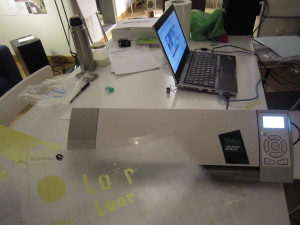
A new machine has arrived in Variable: a paper, vinyl and fabric cutter. The budget was limited, so we had to look in depth for machines that were not too expensive and that worked with Linux. The ideal scenario was to find a second hand (semi-)professional machine. Alas, none were available for our budget. A pity, because the lower level machines tend to work with sticky mats, and other potentially proprietary bits and bobs. I was 85% percent sure that the Graphtec Silhouette Cameo SD worked on Linux. However I was not sure how hard or easy this would be.
These were the links and references I had before buying it.
The blogpost by Alexandre Prokoudhine gives a nice overview about the possibilities:
http://www.libregraphicsworld.org/blog/entry/vinyl-cutting-on-linux-the-real-deal
The sofware and drivers provided for the vinylcutters do not work with cups, they work differently. They all start with vectordrawings and SVG’s. So Inkscape is a potential starting point for what you want to be cut.
Inkcut = Fail
Some of the proposed software should work directly within Inkscape, such as Inkcut, which should be a kind of plugin. I installed Inkcut, because it looked the most promising interface-wise.
However, the software Inkcut is no longer being developed. After installing it, nothing appeared..
Next!
Robocut = Initial fail BUT!!
https://gitorious.org/robocut
https://launchpad.net/robocut
On Gitorious and Launchpad – Lanchpad directs you to Gitorious..
https://translate.googleusercontent.com/translate_c?act=url&depth=1&hl=en&ie=UTF8&prev=_t&rurl=translate.google.com&sl=auto&tl=en&u=http://custom.ultramini.net/ritagliare-parti-modellismo-silhouette-cameo/&usg=ALkJrhhlIN0Ee83pSqu2U5Y_-VX6r9WwEw
This post seemed really promising. The Ultramini blog in Italian confirmed the compatability of the cutter with Ubuntu (I run Mint, which is also a Debian/Ubuntu based distribution of Linux). He uses Robocut, but he did some modifications. As he indicated, Robocut does not work out of the box. It did run, but the vinylcutter was invisible. I e-mailed Ultramini and very quickly he sent me his modified version of Robocut. I tried it after installing the next software: Graptecprint, as the mail came after I started out with this driver.
————–> Scroll to read more about Robocut..
Graphtecprint = Succes with initial confusion!
http://vidar.botfu.org/graphtecprint
https://github.com/jnweiger/graphtecprint
There is a blog and a github page for Graphtecprint. The confusing part comes in the instructions: on the Github page they indicate you should download the .tar – however, there is no tarball (.tar.gz) on this page. So I used a bit of personal experience to deduct what the instructions should be for the github page. Afterwards I saw it was available on the blog page. The code on Github is more complete. You also need to run it from the commandline and it uses.ps files you can make in Inkscape when you print to file. This is a bit clumsy.
Install, run.. Fail.. Darn!
Luckily the commandline tells me what is going wrong: it is looking for a particular file –> this seems to be a python script, which is also in the downloaded software folder. I had to copy both .py scripts to my usr/local/bin folder. This is not very elegant, but.. It worked!
Now what to cut!!
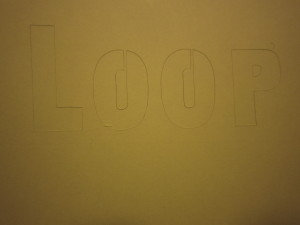
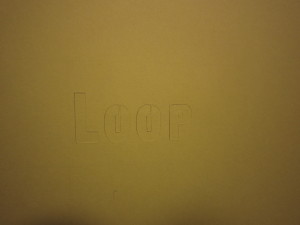
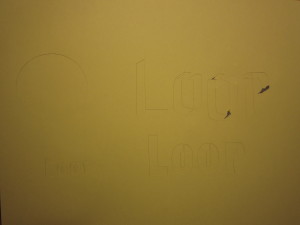
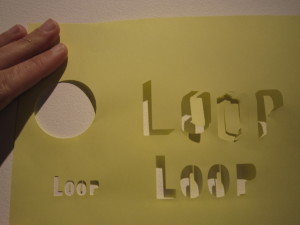
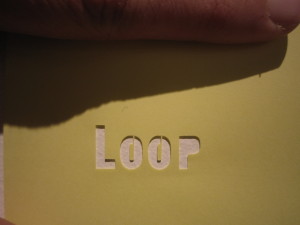
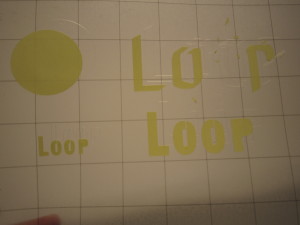
Very quickly I made an Inkscape test, with the Cricks font (based on vinyl letters – nice loop!), a circle and a word in Inkscape calligraphy. I only had paper, no vinyl.
First mistake: where should the paper be:
Not all was cut on the paper itself.
Next mistake, the caligraphy letters create too many cutting lines, so they fail. Cricks comes out nicely, the P does lose it’s inner shape. and the circle was round.
Next step: fabric! I chose felt. Textile has it’s own knife, different from the paper and vinyl knives. Alas this was a big failure. The felt was too thick, or too flaky. On top of that, it ruins the sticky mat.. And it just did not work. Ouch!
Robocut revisited = No Success !! yet— perhaps with a little more help
I unzipped Ultramini!’s altered version of Robocut. In the zip you have a install.txt, which basically tells you how to install the program. Of course, I did not go to Gitorious, because my code came from Ultramini!
For the moment it does not want to compile. I will update this post when it does! Robocut is worth the effort, because they provide you with reg marks (reference marks) and you cut directly from SVG. There is also a sweet animation function. Hopefully more news soon!
It feels good to strikethrough 🙂
In the meantime, he wrote a blogpost in English explaining what he did including the code in a zip file.
Grazie per la spiegazione!


